
Wallpaper Removal & Texture - 8 Step Process
Mask off plastic and remove plates, light fixtures, mirrors, curtain rods, blinds, etc. |
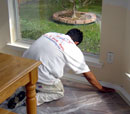   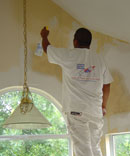 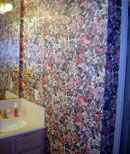  |
Remove wallpaper, if possible. Typically, on homes older than 15 years, wallpaper was applied over sizing, a clear liquid primer. Such wallpaper removes quickly and easily. But, during the last 15 years, new homes have not used sizing, but rather have glued wallpaper straight to the sheetrock. If all wallpaper cannot be completely removed, loose pieces will be removed so that bubbling will not occur. Raised wallpaper around the showers, tubs, sinks, etc. will be cut out with a razor knife and spackled over. |
|
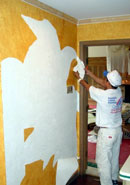
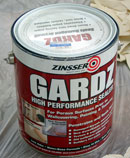
Float all seams, wallpaper joints and imperfections. Gardz damaged drywall and remaining wallpaper to seal and prepare walls for texture. "Gardz" is a primer/sealer product that acts as a glue to seal damaged sheetrock, wallpaper and wallpaper backing to prevent bubbles from appearing after texture/paint is applied. |
|
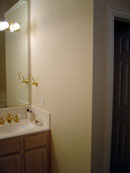
Texture wall with joint compound using compressor and hopper or hand trowel textures, etc. |
|
Apply PVA primer, oil based primer or flat wall paint to seal texture. |
|
Caulk around all corners, door casing, jams and window seals, and baseboards. |
|
Contractors will be proficient in both spraying and brushing applications, depending upon project needs. |
|
Quality materials will be used. Work will be done in a neat and professional manner by skilled crafts people who are polite, friendly and work efficiently. Work area will be neat and presentable. Touch-up paint will be labeled and left for your future convenience. |